
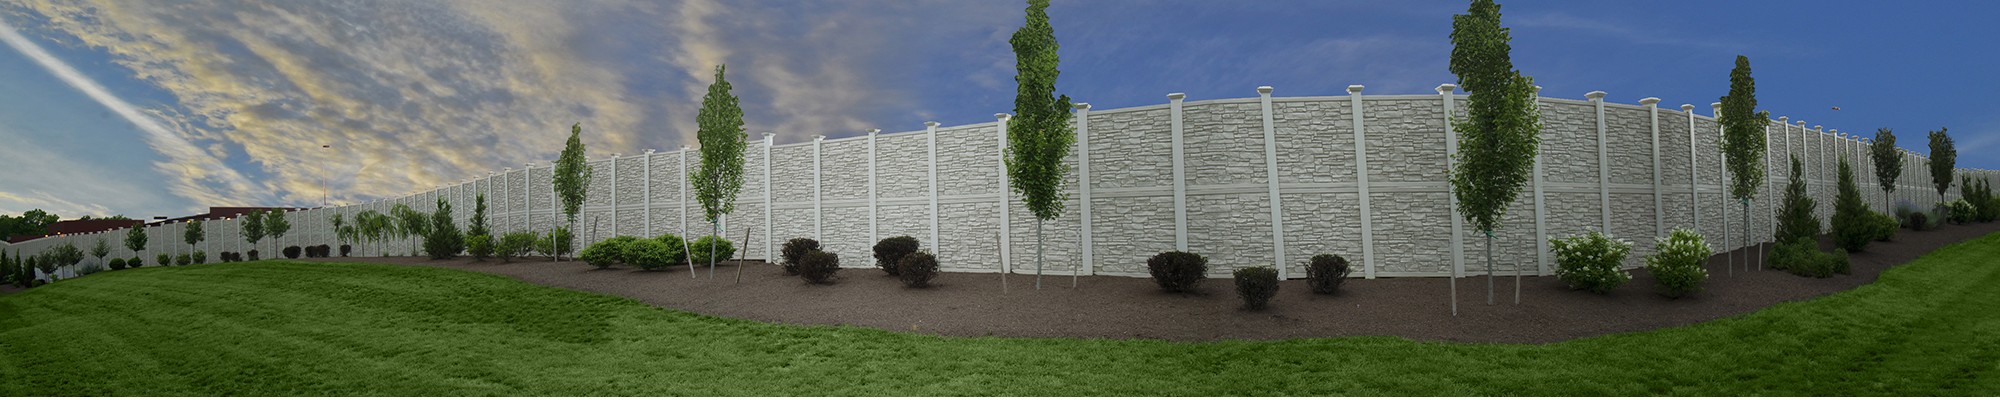
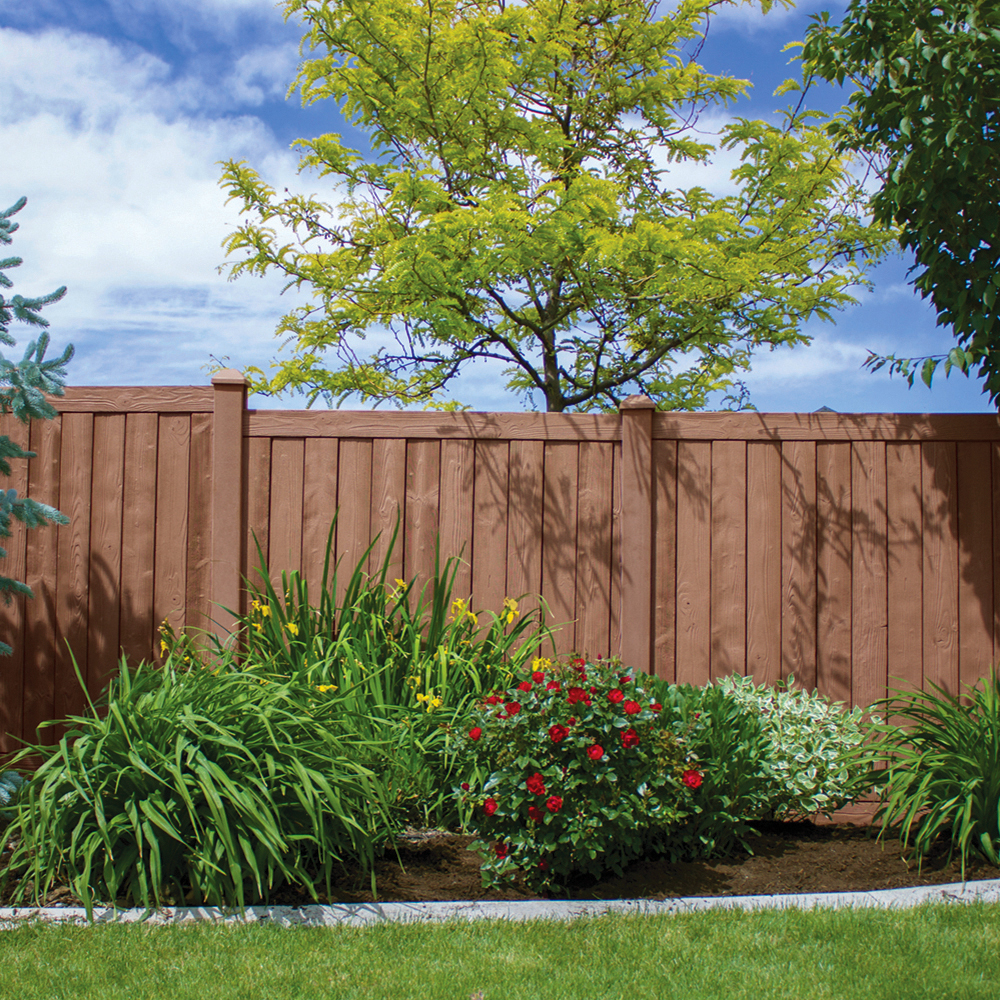
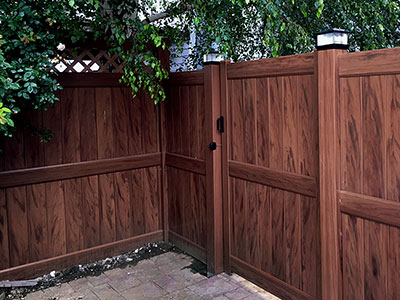
10 Dos and Don’ts of Installing a Vinyl Fence: A Foolproof Guide

The vinyl fencing has arrived, and you’re tying up your boots ready to transform into an HGTV character. The project is mapped out and your materials are in order. But are you ready?
Fear not, fixer upper! A lot can go wrong when putting up your own fence, but this list of dos and don’ts of installing a vinyl fence will ensure your DIY project is done like a pro.
1. Do! Check Local Zoning Law
Make sure your fence meets your city’s requirements before building. Cities will have fence zoning laws on their website, like Minneapolis. Find your city’s laws and start planning!
Let Your Neighbor Know, Too
Let’s face it. You and your neighbor share the property line. It’s a good idea to keep that partnership in good spirits, so let your neighbors know about your plans. More likely than not, they’ll be okay with the fence because that means more privacy for them without the work.
2. Don’t! Install Posts too Close Together
Once you know the laws for building your fence, it’s time to stake out what it will look like. Do this by placing stakes where the corner and end posts will go. Tie a string connecting each stake. Then place stakes in between to mark where the posts will go.
Make sure your stakes aren’t too close together. This will make your fence too rigid with no room for flexibility. Some flexibility helps your fence withstand bad weather and makes it more durable.
3. Do! Find a Debris-Free Area
Before digging holes for a fence, you should mark the perimeter of where the fence will go and remove anything in the way. Walk along the perimeter carefully and remove any plants, rocks or debris that could cause problems during the installation process.
There are cases where you’ll have to adapt the fence to slopes in your yard. Not everyone’s property is flat, so this is more common than you think. Here are some helpful tips if you do find yourself installing your fence on a slope.
4. Don’t! Dig Shallow Holes
Do the opposite. Shallow holes will make your posts weak and susceptible to blowing over during high winds, putting stress on other panels.
When digging holes for a fence, you’ll want to go six inches deeper than recommended. This will leave room for you to backfill the hole with gravel, which will help make your posts stand stronger.
5. Do! Install End and Corner Posts First
The first post you install should be at the end of your fence. Second is the corner post, and so on. Next, tie a string attaching the end post to the corner post. This will give you a reference for setting your posts in a straight line.
6. Don’t! Treat Gate Posts the Same as Regular Posts
As we pointed out in No. 4, you’ll want to dig post holes six inches deeper than needed. Go another six inches deeper when installing the gatepost. This area of your fence needs extra strength to accommodate the movement of the gate. An extra half-foot in the ground will give it the strength it needs.
7. Do! Use a Level
One of the most important tools you can using while building a fence is a level. Don’t use the eyeball test to see if the posts you planted in the ground are straight. Level twice before placing the panels — once after you plant the post, and again after you pour the concrete.
8. Don’t! Hammer the Material
Yes, installing a fence without a hammer is nearly impossible, but use it carefully. Never swing the hammer directly on the vinyl. Instead, get a 2×4 plank of wood and hammer the wood while it’s laying flat on the vinyl.
Direct contact with a hammer can harm the vinyl. Cracking the top of the post during installation will be a burden to deal with when applying post caps. The block of wood will soften the directness of the blow without affecting its power.
9. Do! Install One Panel at a Time
Once your posts are in the ground and everything is secure, you’re going to start seeing the light at the end of the tunnel. Don’t rush getting there. Install one panel at a time.
Focusing on one panel at a time will ensure that they are even as you go. After installing the panel, grab your level and make sure it’s straight before moving on to the next one. If you try to blow past this step and install the next panel, you’re going to spend more time at the end of the process trying to level your whole fence all at once.
10. Don’t! Paint the Fence
Your first instinct when you’re done installing your fence will be to apply a coat of stain or paint for protection. The beauty with vinyl is that none of that is necessary. Vinyl is naturally water resistant. Instead of applying a fresh coat of paint, you can just powerwash it every so often to remove dirt and grime.
So, can you paint a vinyl fence? The answer is, yes, technically you CAN paint your fence, but the point of getting vinyl material is so you don’t break your back painting every spring. Paint can even weaken the material, so it is NOT recommended.
Installing a vinyl fence is no walk in the park, but hundreds of people like you have done it and have found success. If you’re still feeling nervous about the process, you can visit our resource center to expand your knowledge of the dos and don’t of installing a vinyl fence.